
Turn the lights off and follow these indoor light painting tips
I love the quote from Dave Black when he said “if you want a picture to look interesting, only light part of it.” Such a profound thought. Light painting is a technique where you capture images in the dark and use a flash light as your light source to highlight certain parts on an image. The most important thing is to set your FOCUS! With the lights on, set your focus and lock it so when you turn the lights off it will still be focusing on your subject! Then, you want to have a long exposure to have time to light paint. I used a shutter speed of about 10-20 seconds. Depending on how much light you want to show up in the image is how long you shine your flashlight on the subject. It usually would take me a few tries to understand how to light the specific areas.
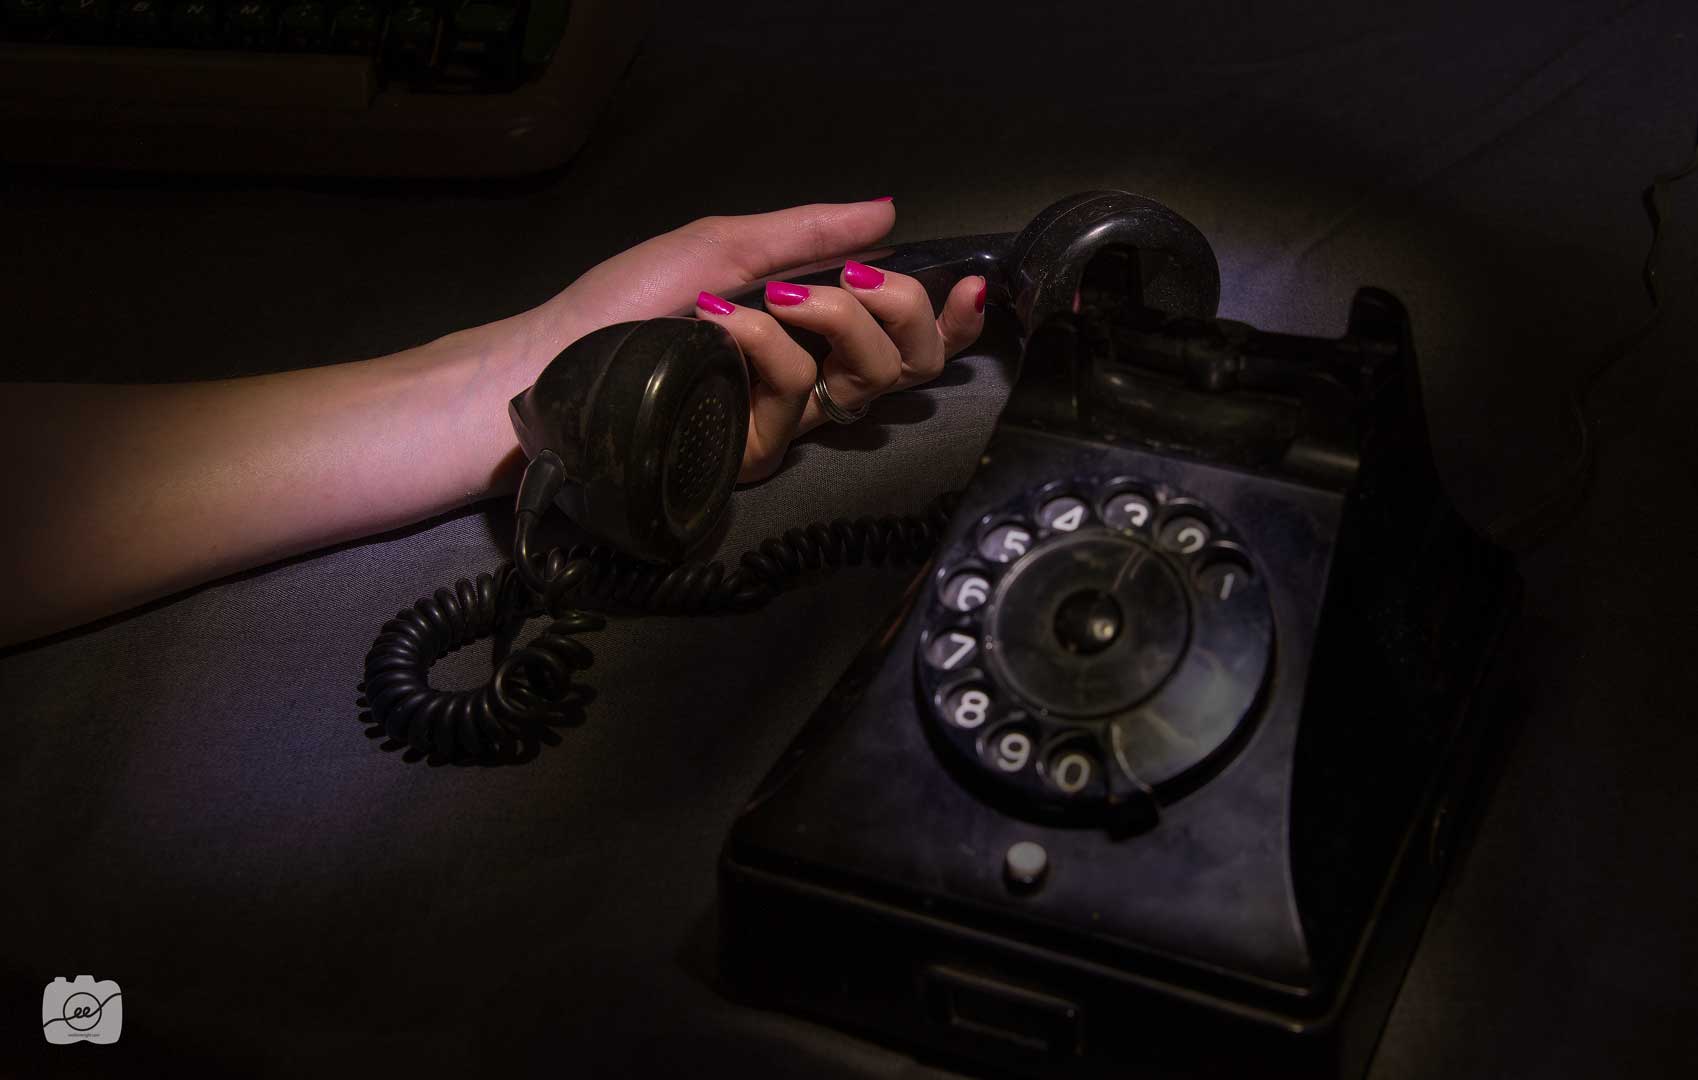
I wanted to create an eerie look with this first one. I love old telephones and stories with a good mystery. I love her pink lifeless fingernails and the questions it leaves the viewer of what was said over the phone.
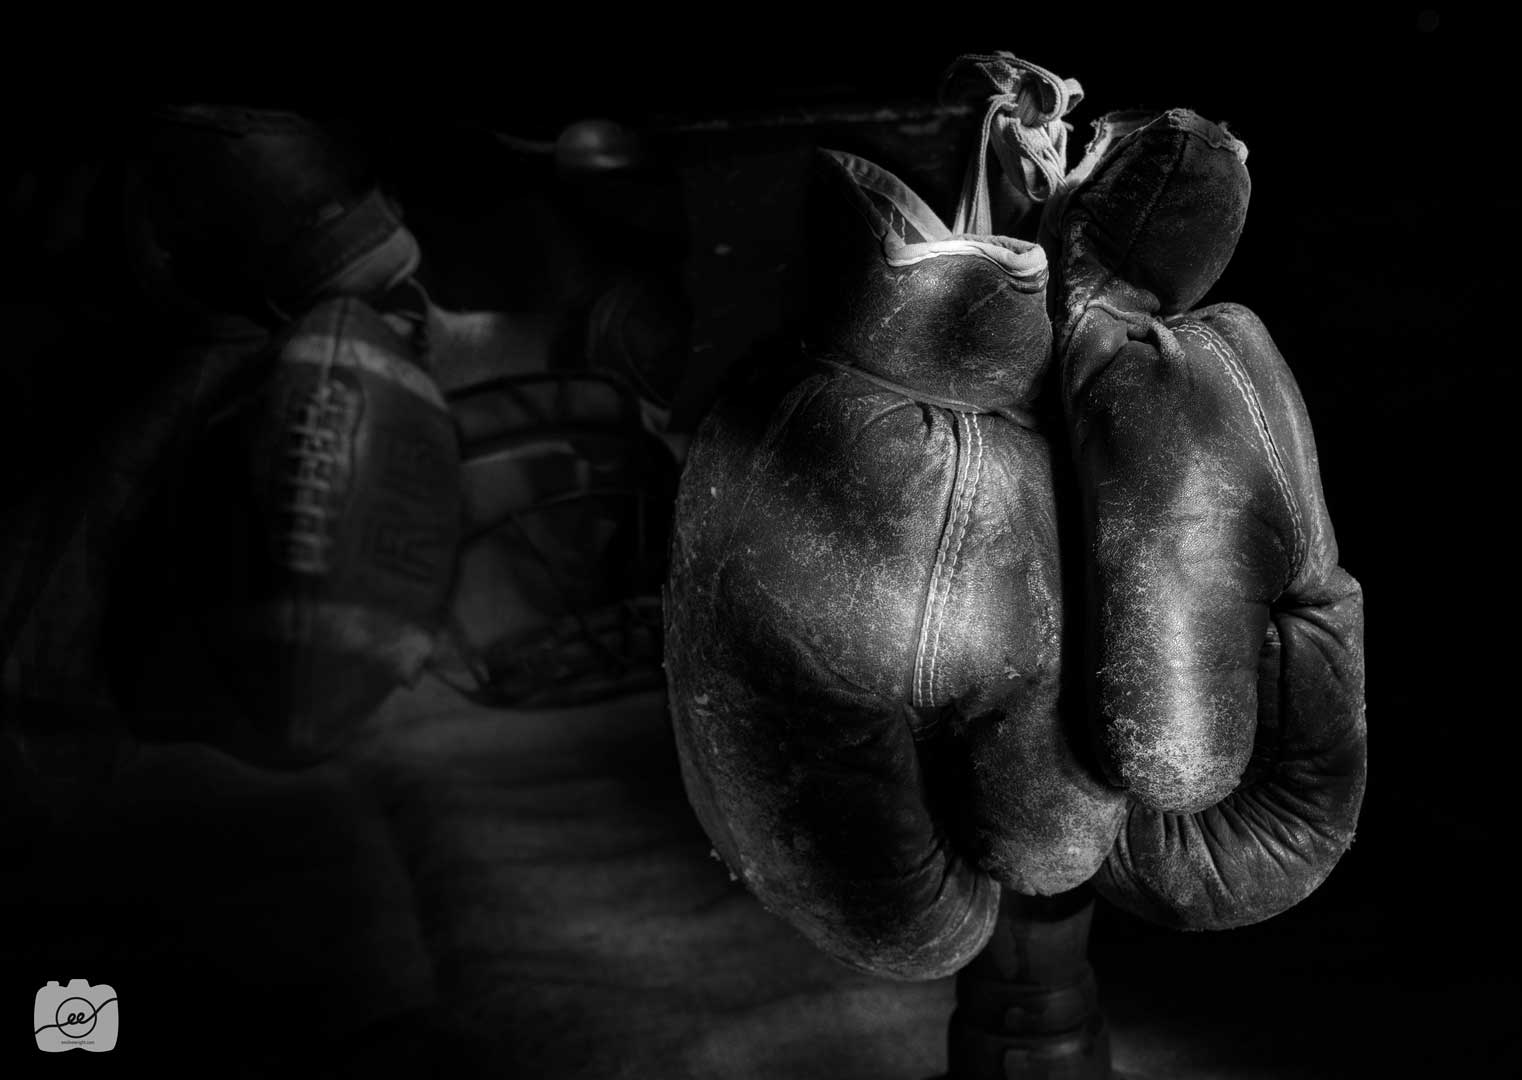
We had a lot of old antique sporting equipment that was fun to set up. I tried a new technique called faux bokeh! You take the picture like you normally would but in the middle of the open shutter you move your focus ring so it makes everything else you light up blurry. If you look closely you can see the boxing its in focus and the football equipment blurred out in the background.
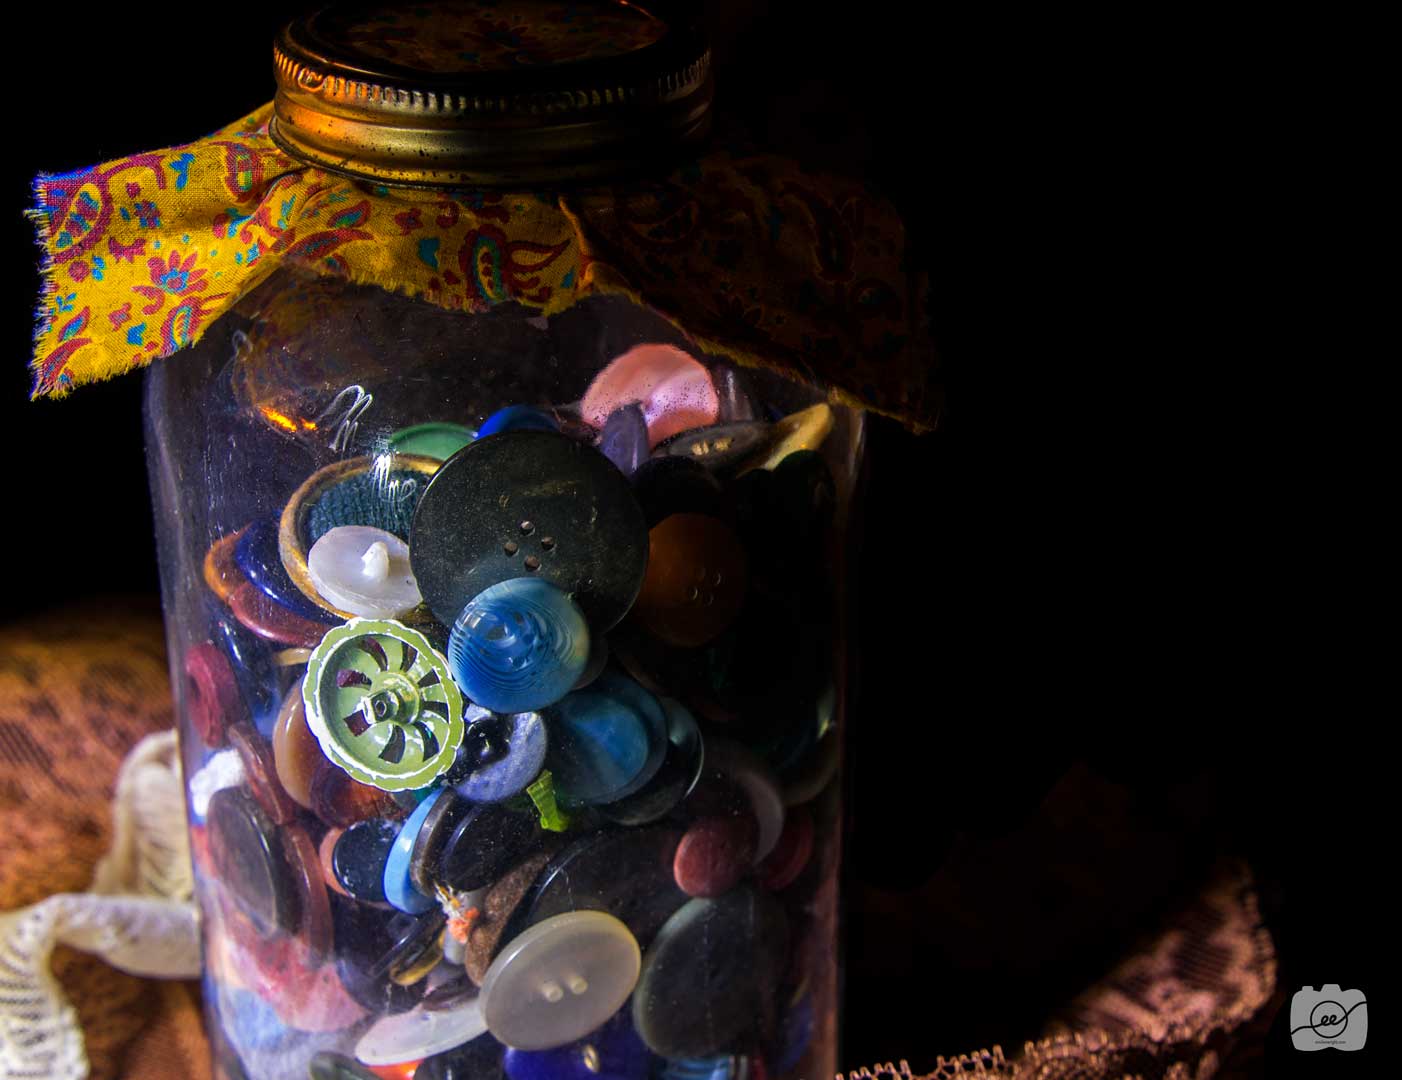
I love the vibrant buttons in this jar. It looks so mysterious with the black background but I think it really makes the colors and textures pop. I love the selective color effects in Photoshop. It really helped me to bring out the colors and get the warmth I wanted out of the light.
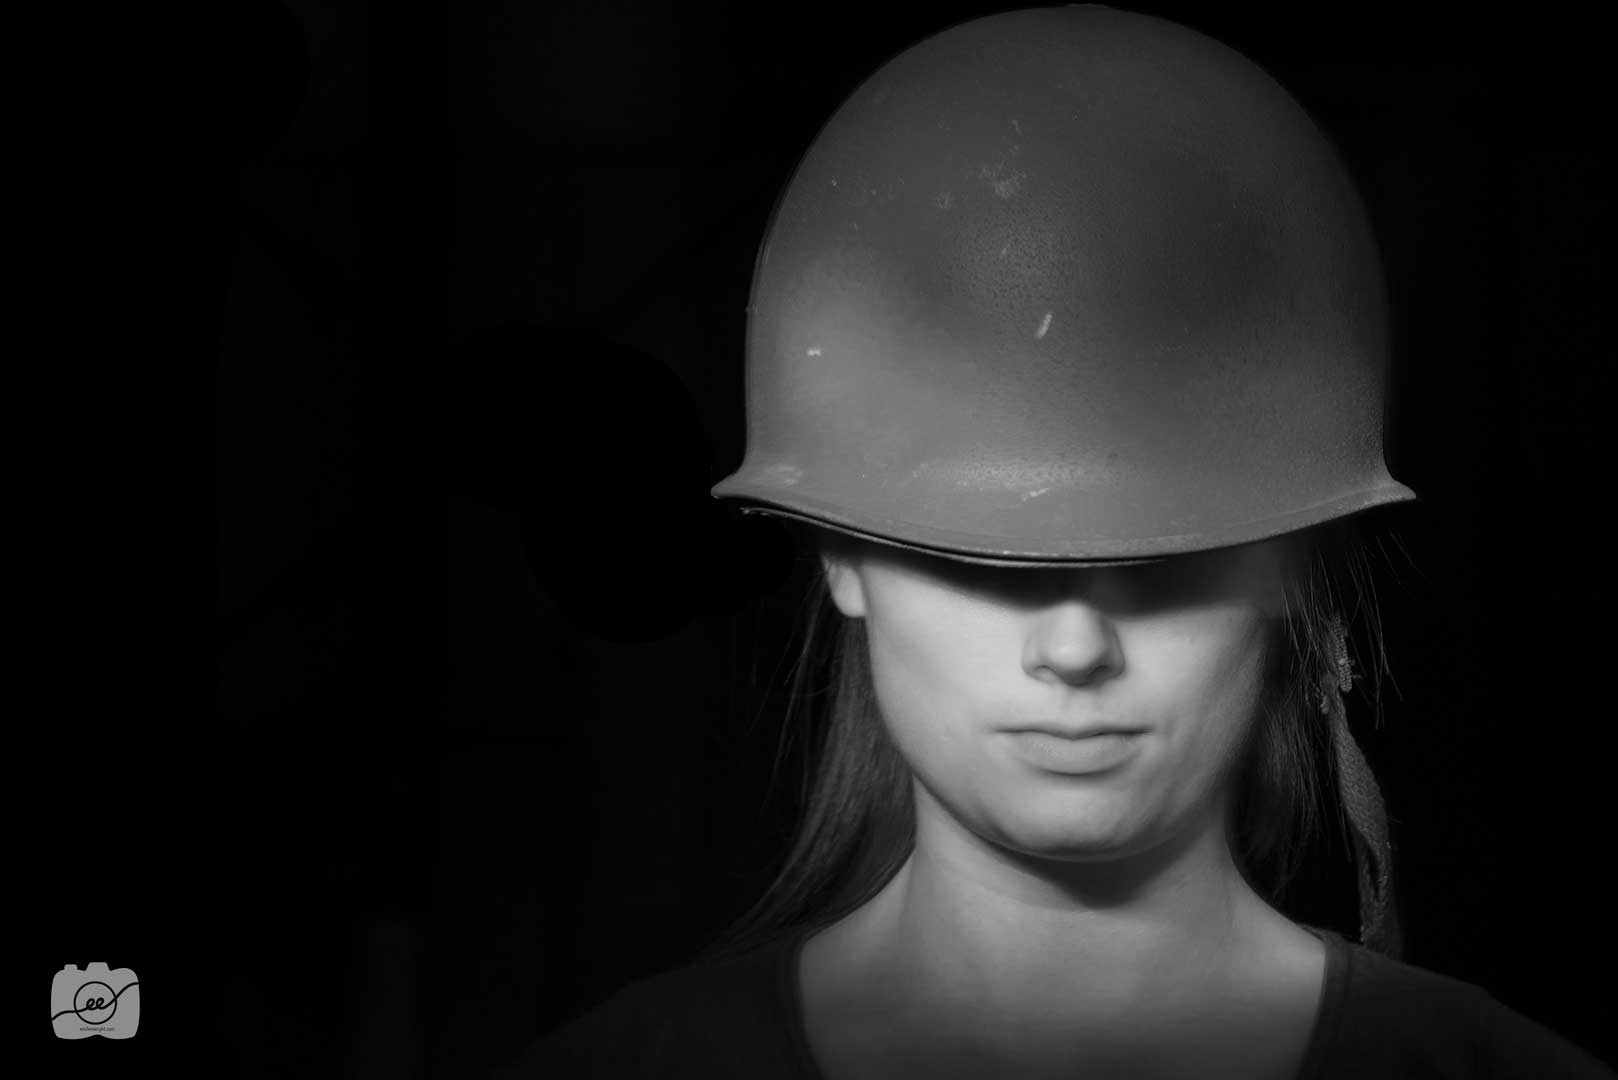
The tricky thing with doing light painting with people is that you can’t move! If you light their face at the beginning, start lighting the helmet, and go back to their face it can look blurry if the model has moved at all. To avoid blur, only light their face one time during the long exposure so that way if your model moves the camera won’t capture it.
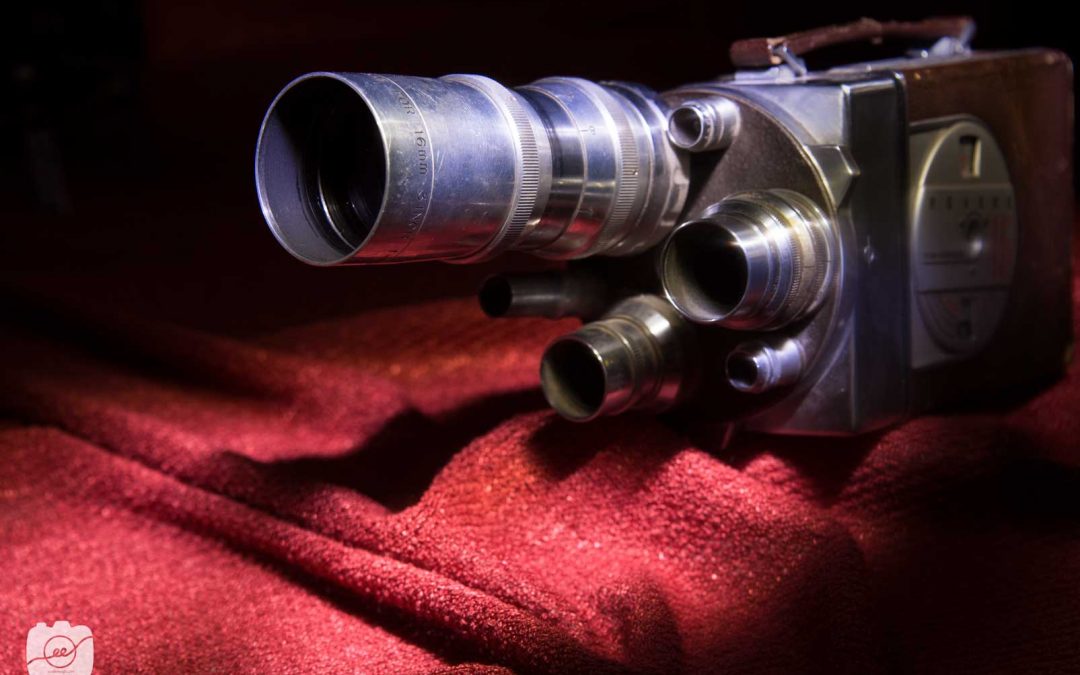
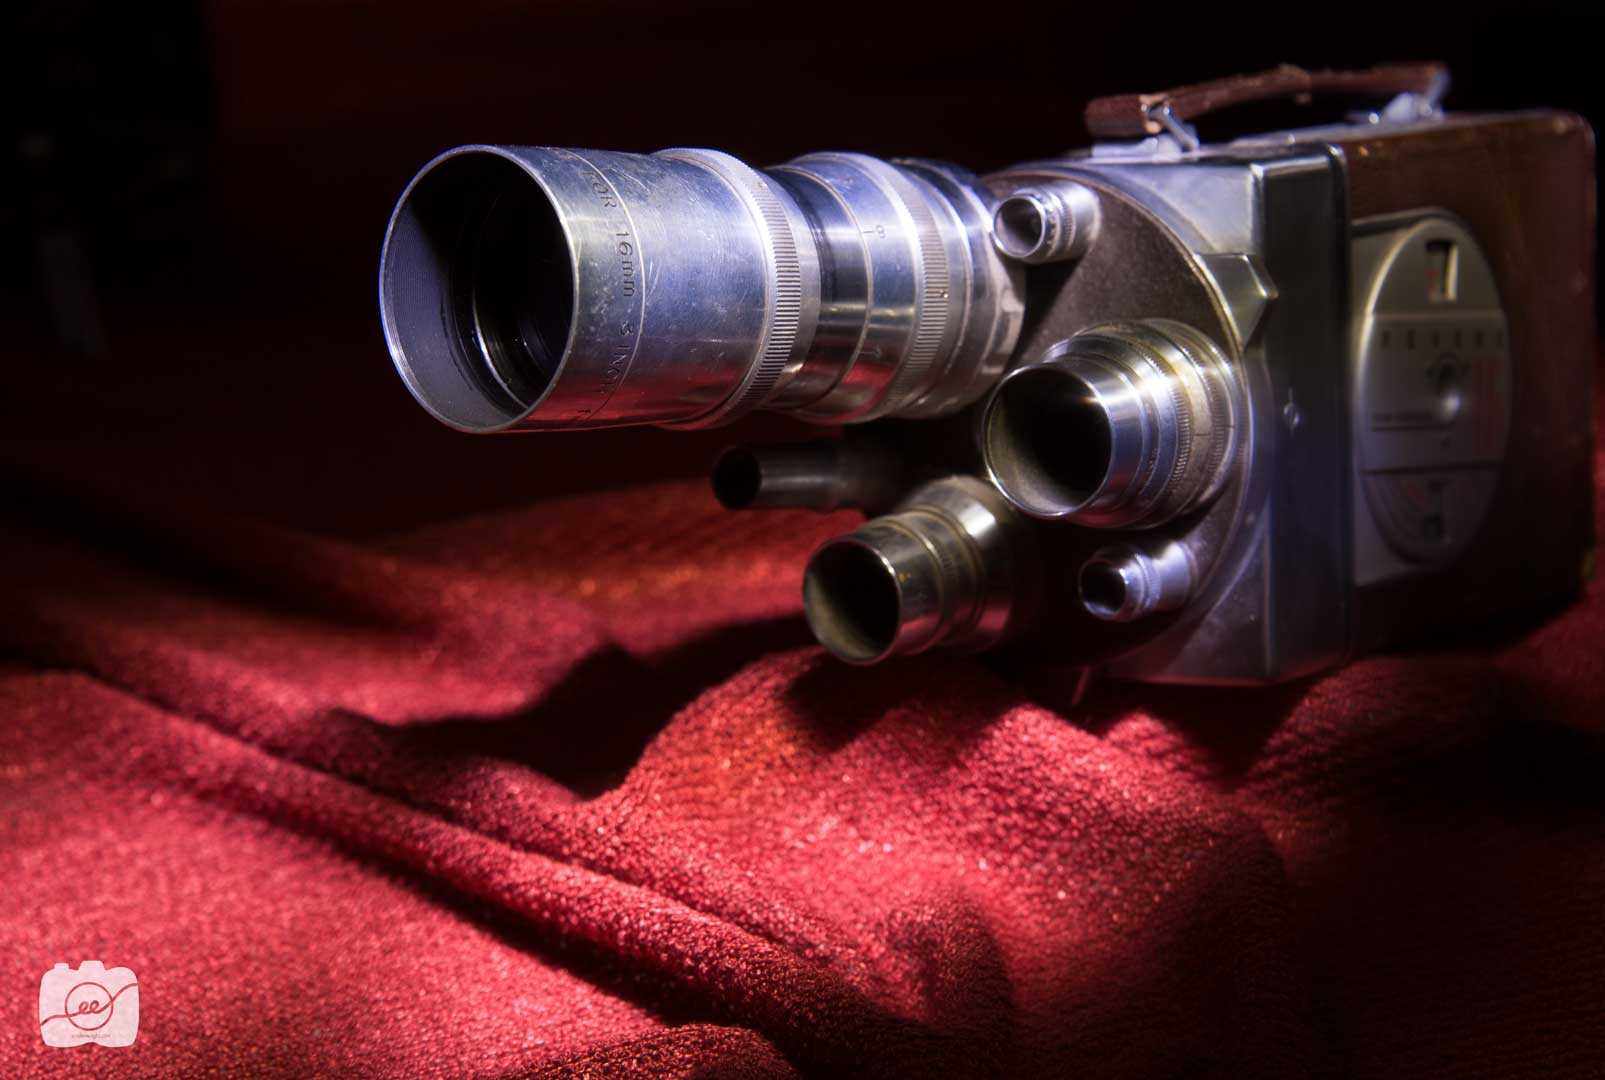
I love old cameras! They have such unique angles and gears. Along with the cool shape, the vibrant red sheet brought a lot of depth and warmth to this indoor light painting.
I hope you found these indoor light painting tips useful! There are so many interesting things to do with long exposure elements. Turn the lights off and have fun lighting part of your subject to make it more interesting! Check out Dave Black’s website to see more tips on how to work with light painting and long exposures! http://www.daveblackphotography.com/creative-lighting-portfolio/
I love how the army helmet one turned out! It is hard to stand still long enough for a good image to be taken, but we got it. And the perspective on the jar of buttons is neat too. I like how you changed a couple of the images to black and white; sometimes making the photo completely different than the original really makes it stand out. It was definitely fun working with you on this. Can I share with you my end product? http://www.shallynphotodesign.com