Learn new techniques in Photoshop with these tips
The lovely Elena was our Maid Marian model for this fun photo shoot. I learned a ton of new post production techniques in Photoshop and I’m excited to share them with you! Post production is at times a bit daunting, but these few techniques in Photoshop will be sure to add something special to your photos and they don’t take too much time!
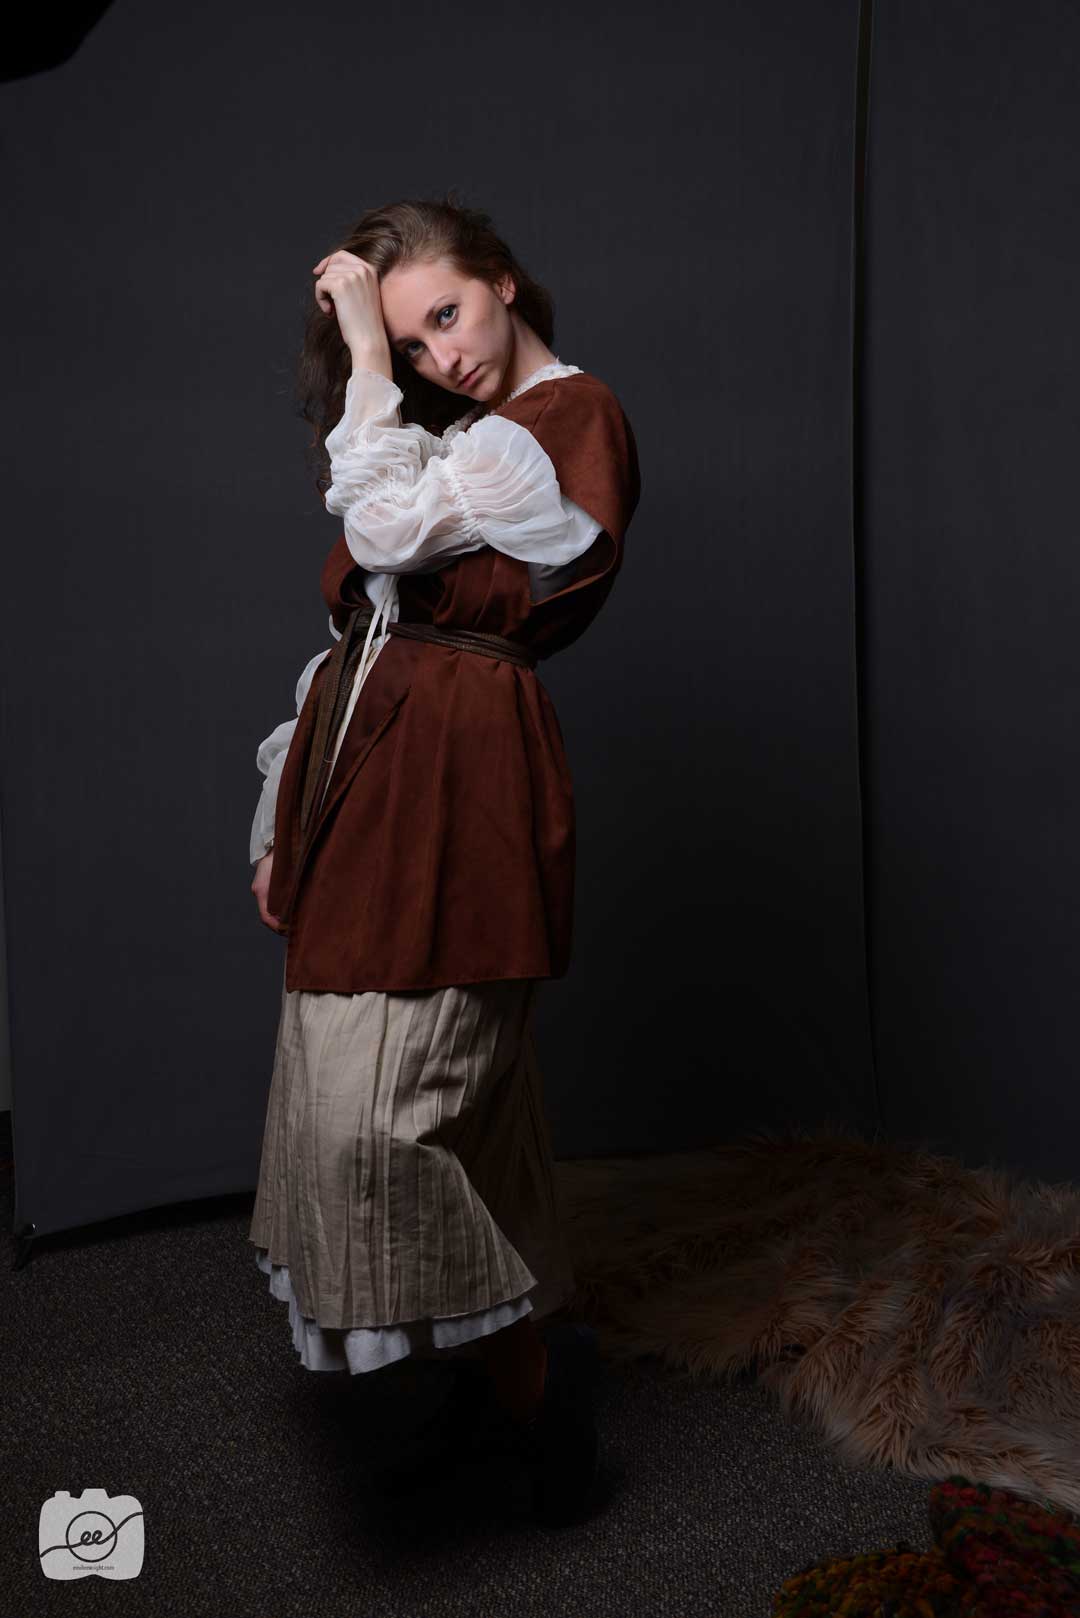
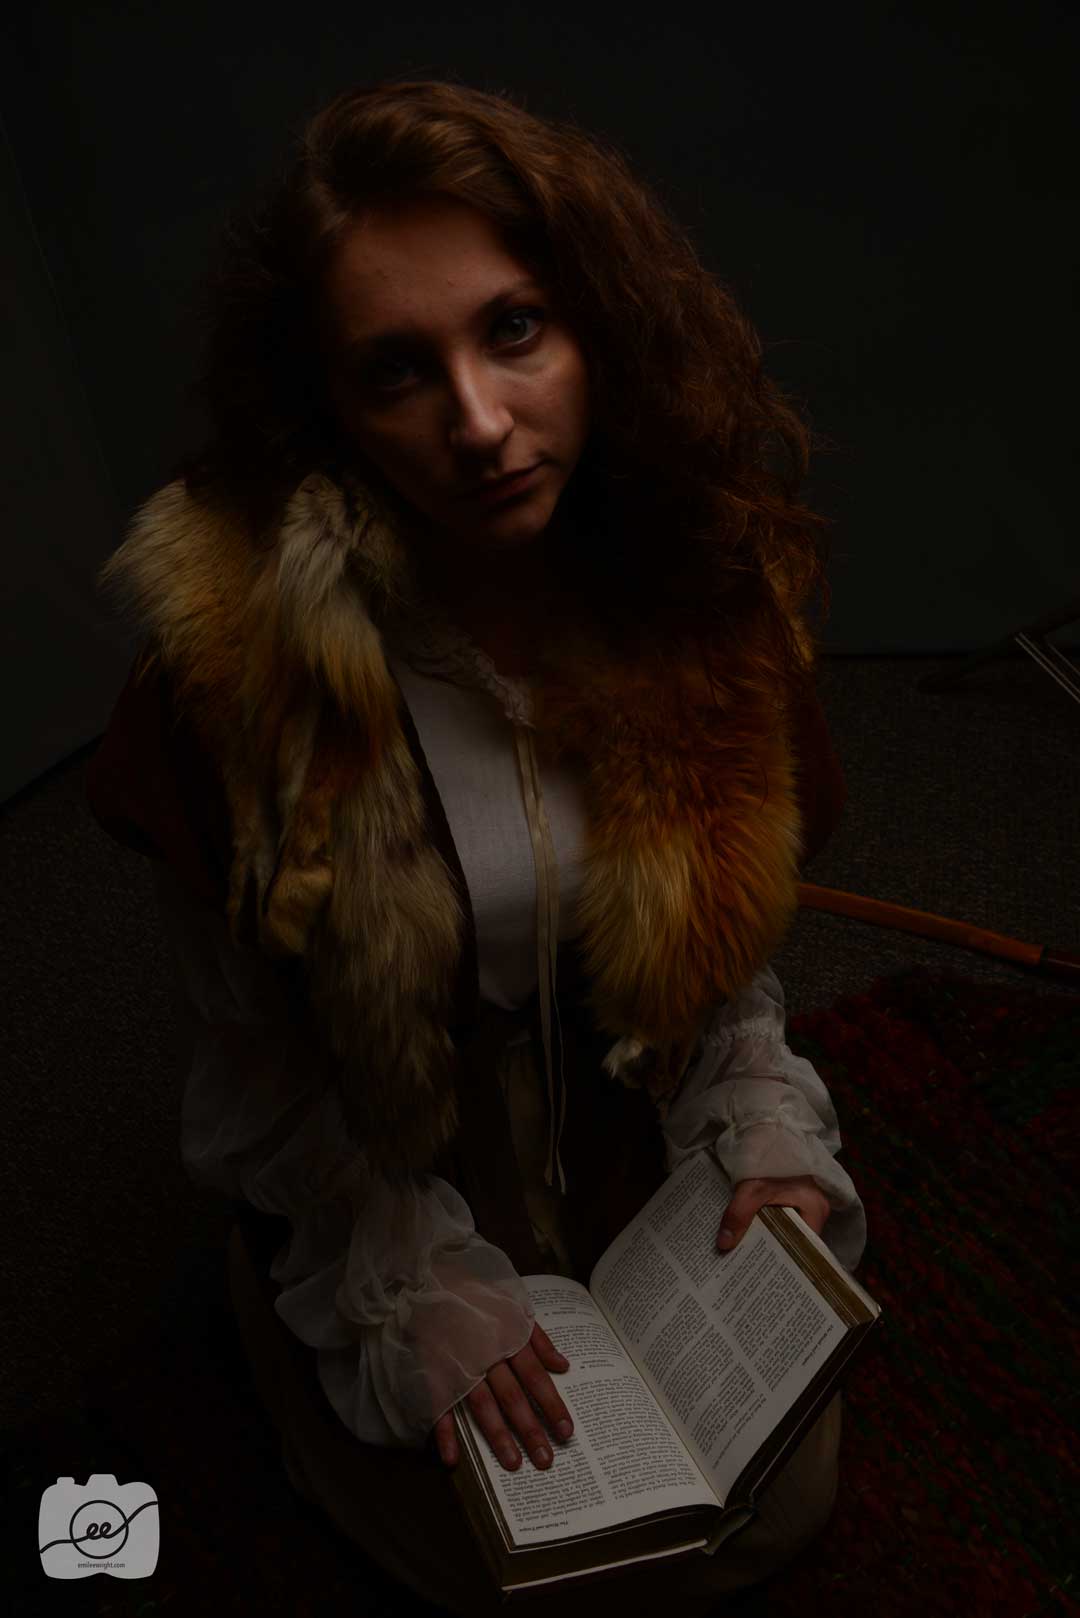
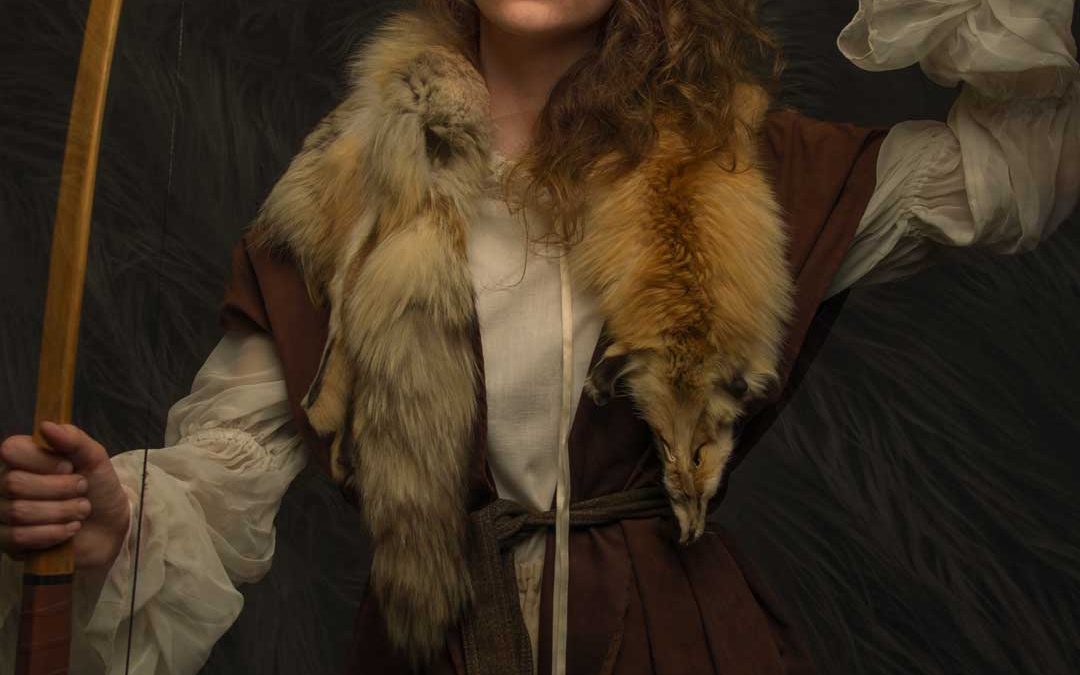
Before
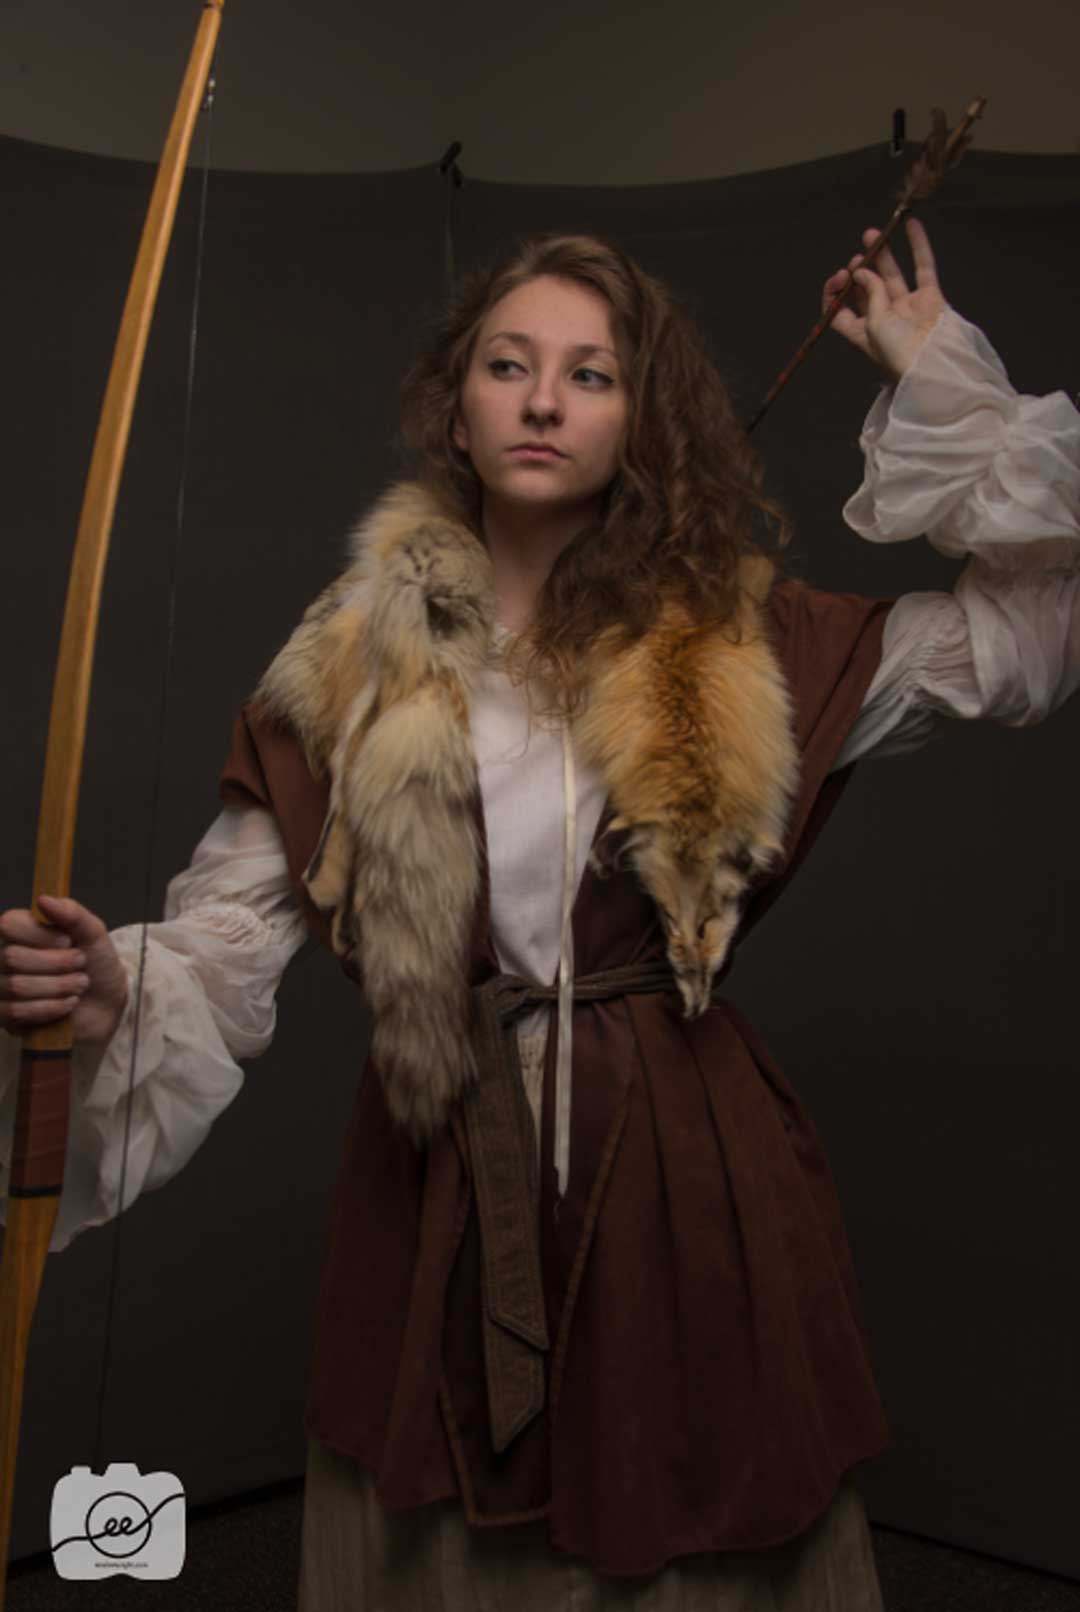
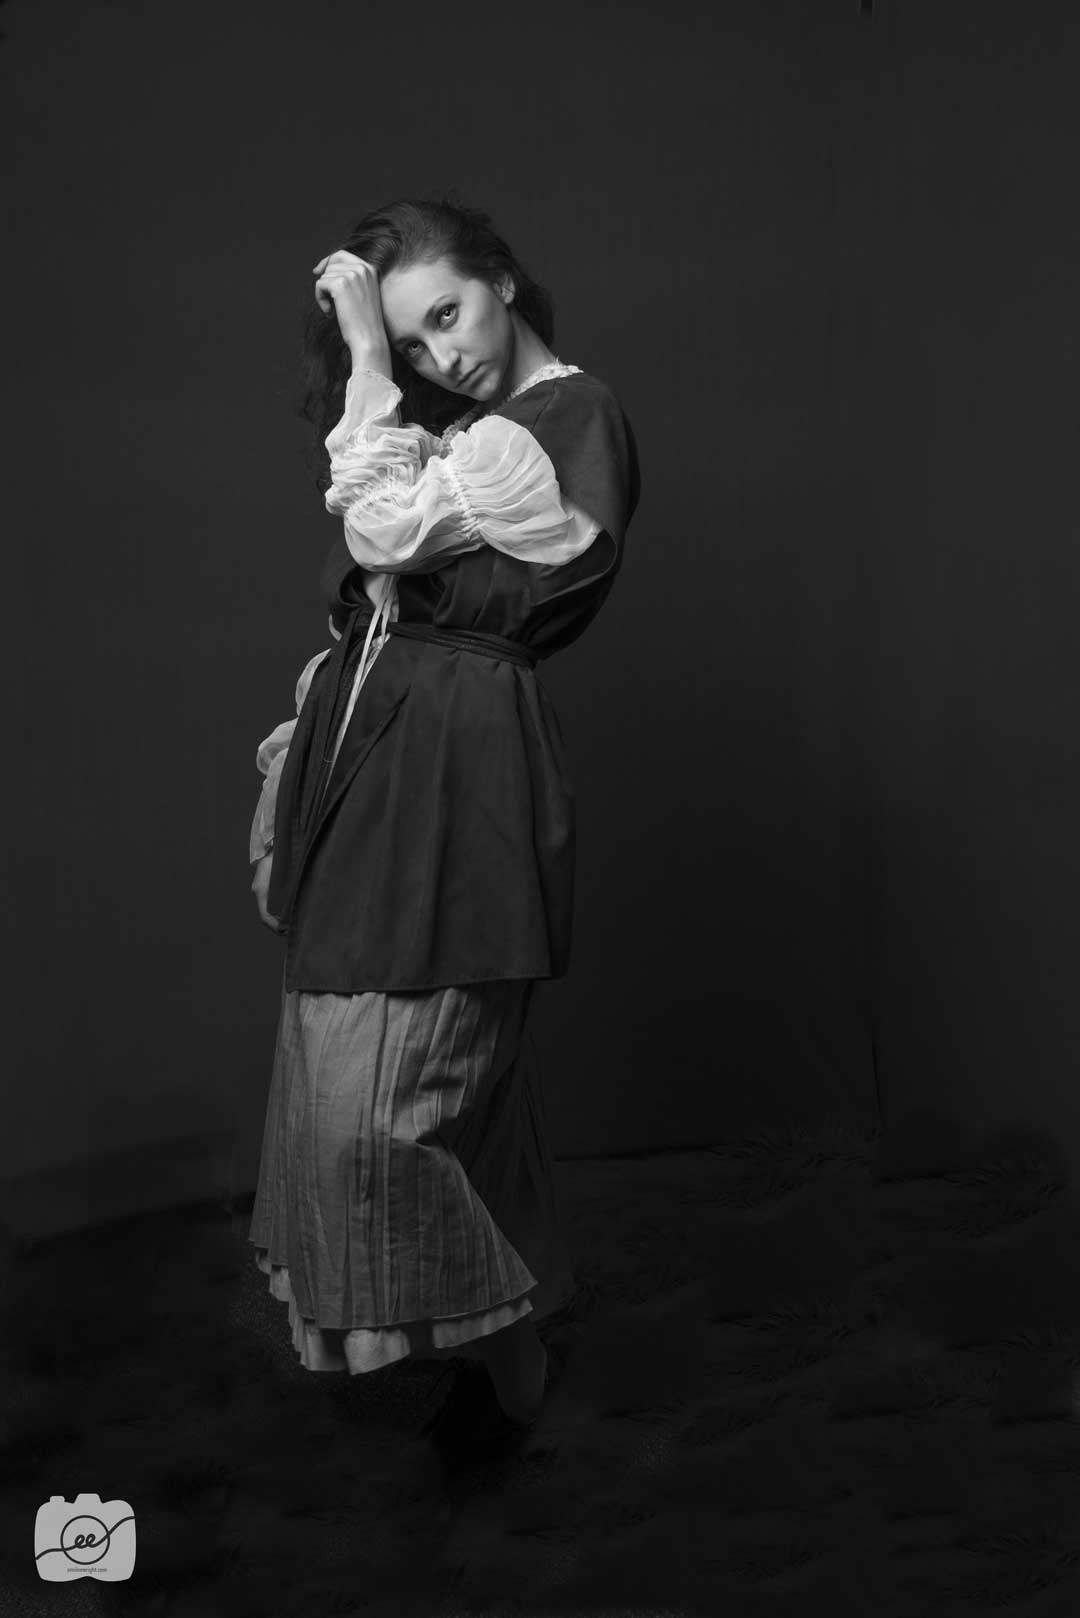
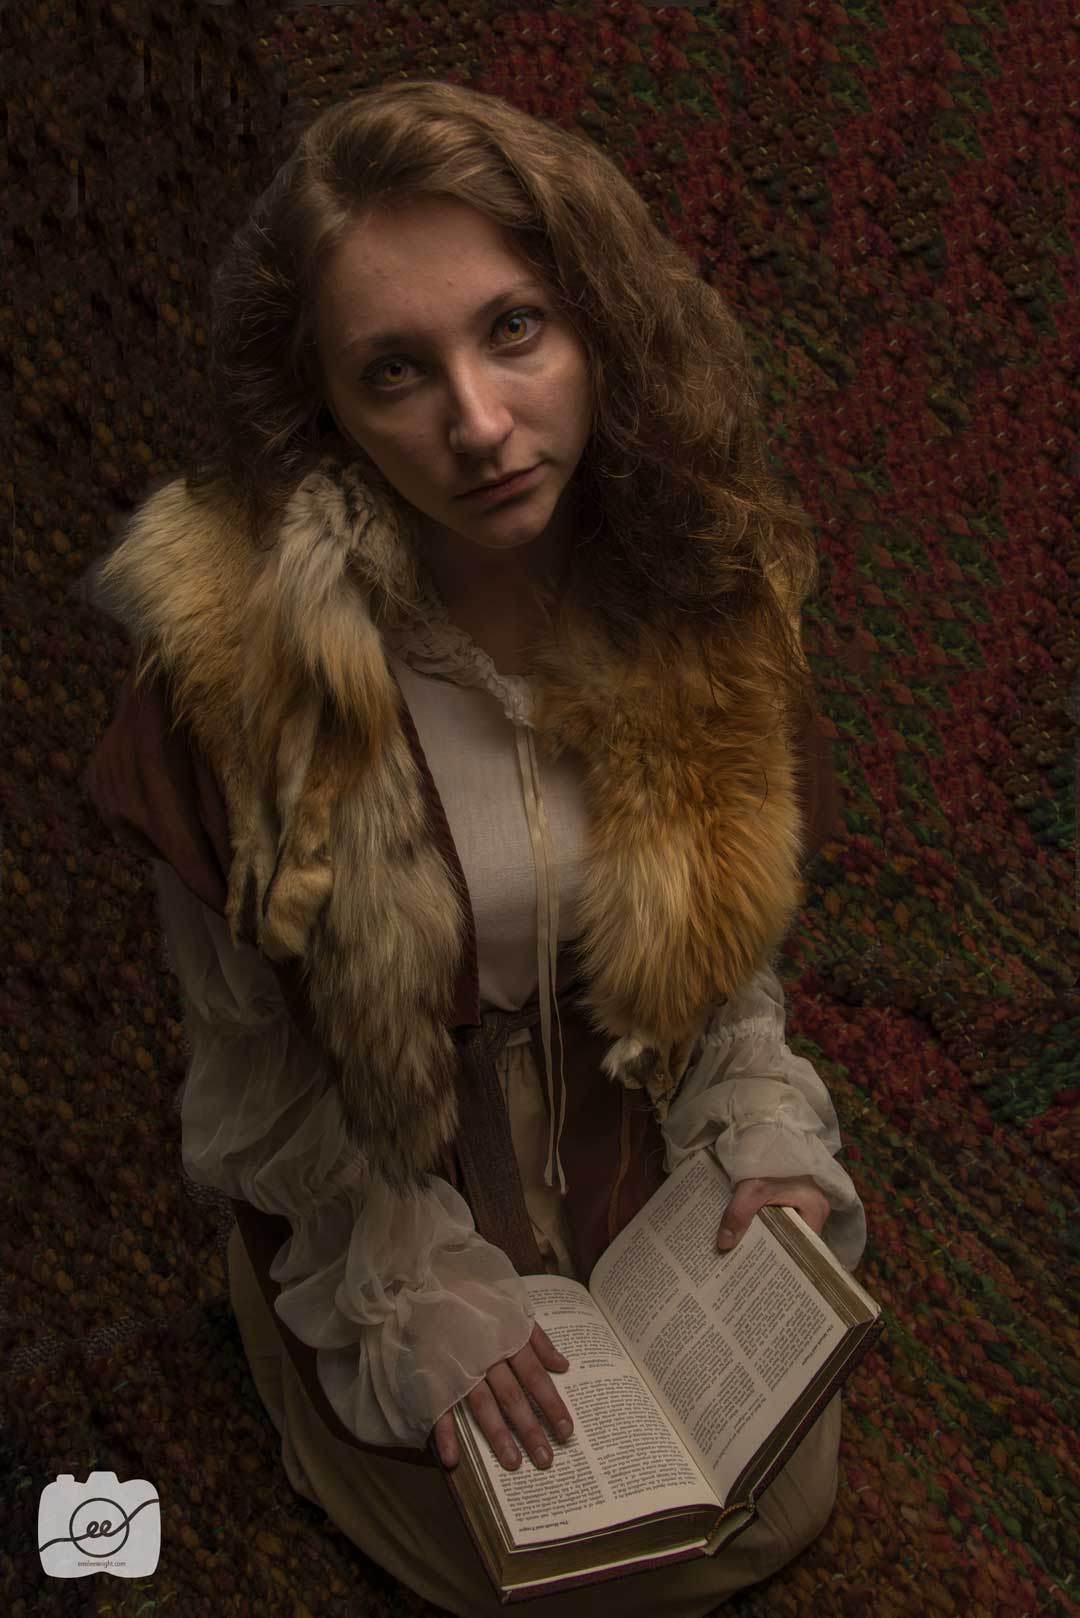
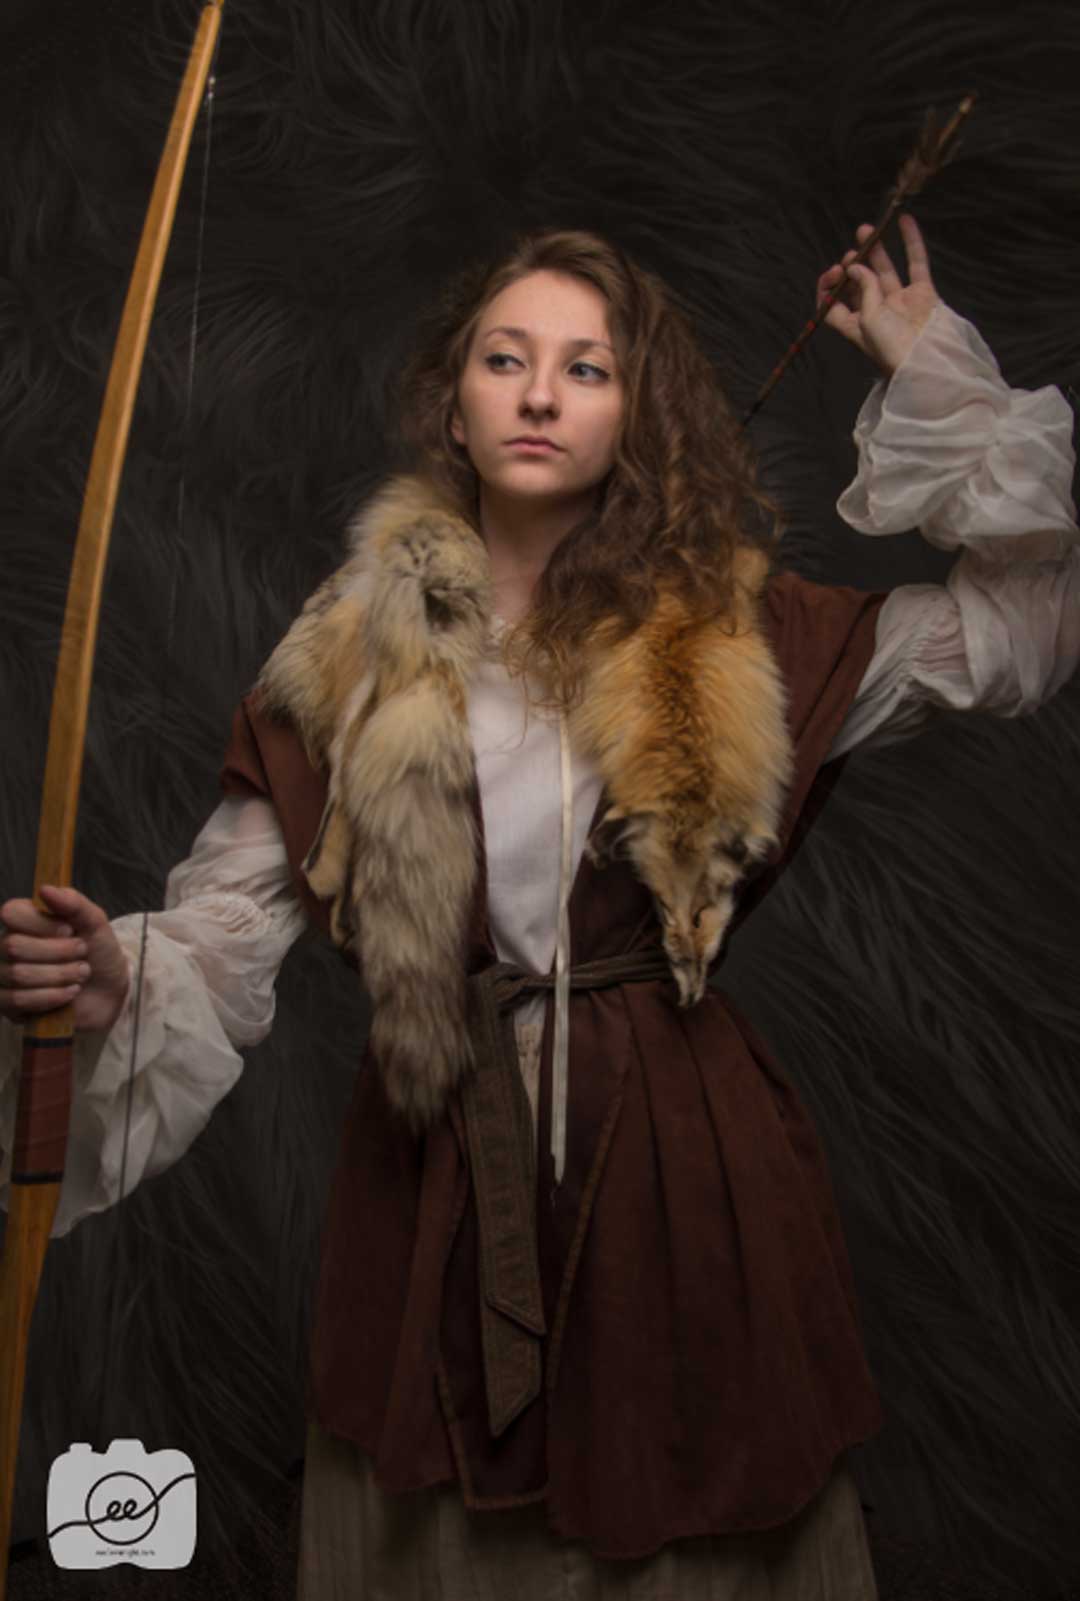
After

Techniques
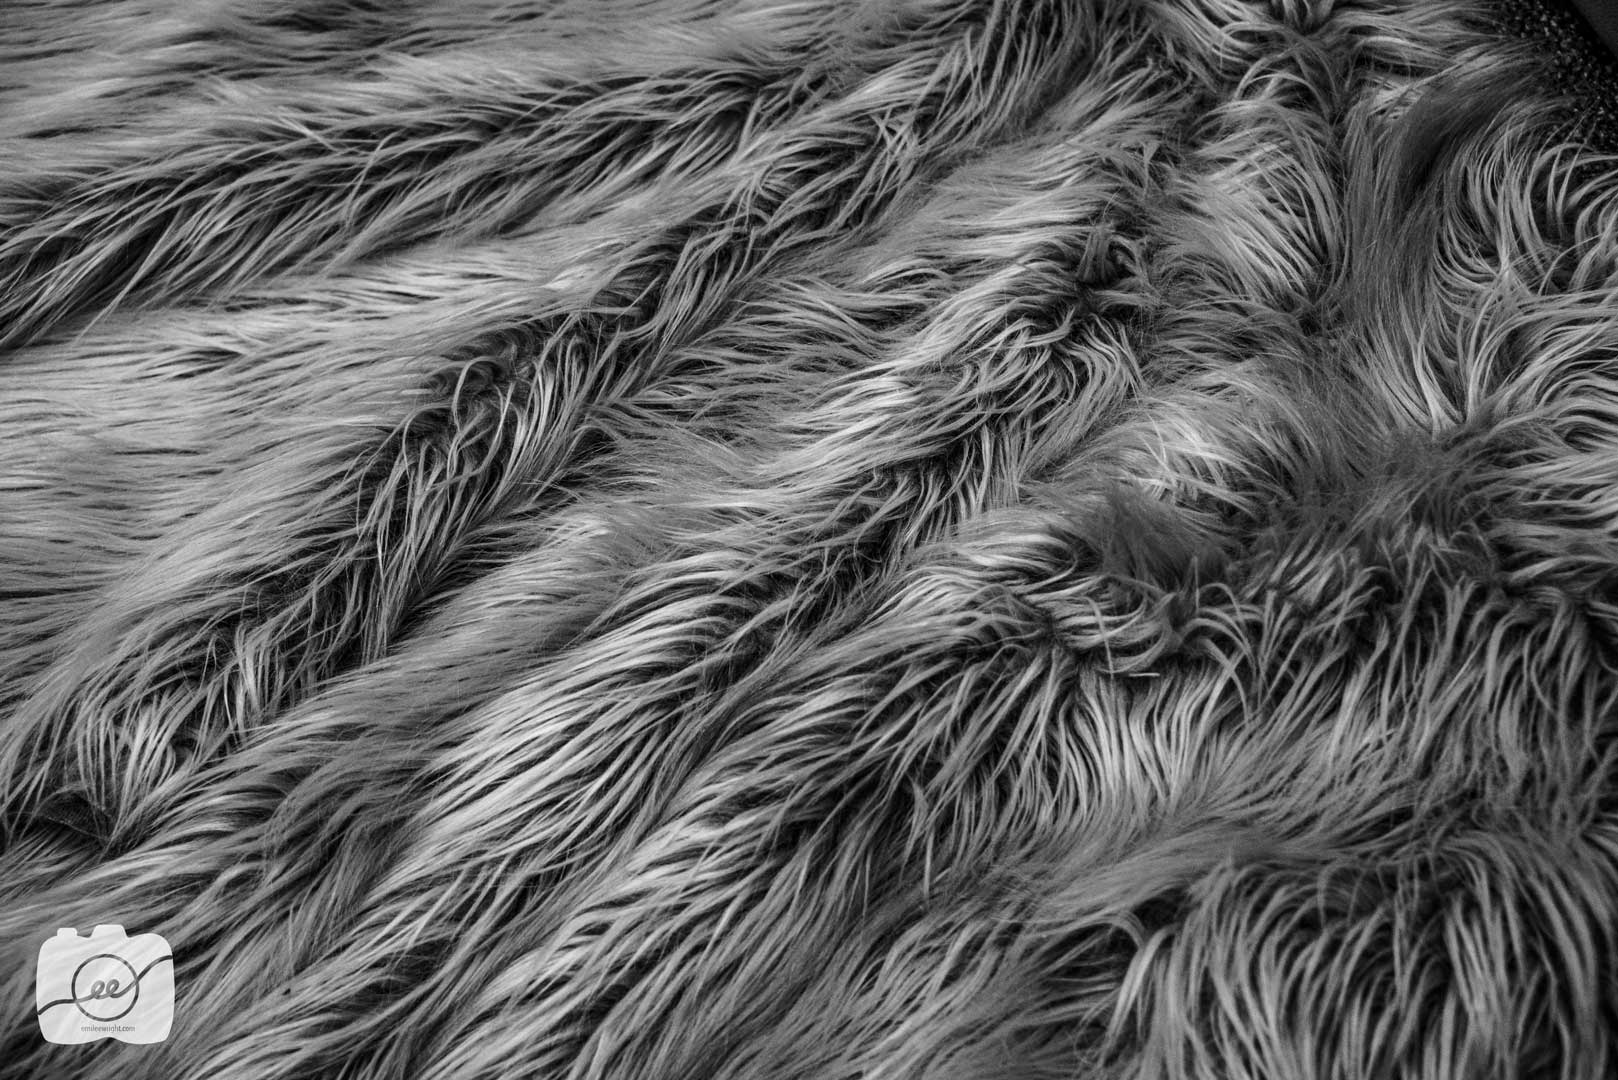
Add Texture
I took a picture of this beautiful fur wrap as the texture for my background. It was important to take the original picture with Elena on a dark background to make it easier in post production to blend the texture on to the photo. After uploading the texture, I made some extreme edits like adding a ton of clarity and contrast in order to really bring out the different colors and textures. After getting the desired look, I dragged the image over to my document with Maid Marian. I then used the soft light blending mode and lowered the opacity and fill about halfway since I wanted it to be very subtle in the background. I then masked out the areas on her skin and parts of her clothing.
Color Look Up Table (LUT)
This post production technique is my favorite! Photoshop is amazing. I had my image and it was looking cool but it was needing some good color and overall blending. I created a new layer and went to the adjustment panel and clicked on color look up. I used three different effects to add warmth (Edgy Amber), a bit of green (Tension Green), and some fog (Foggy Night). I then lowered the opacity on each effect to my desired taste. Look at the before and after images below to see the difference in warmth and overall blending. It’s very subtle but makes a big difference in my eyes!
Eyes
Finally, this post production technique in Photoshop focuses on making the eyes pop. By using the quick mask tool (found under the foreground/background color boxes) I was able to select the iris area and utilize the selective color adjustment to make her eyes pop. I used the screen blending mode to get a lighter color and then used the selective color adjustment to change the color value.
Additional Before and After Examples
I did general editing of raising the shadows and blacks and then I followed some of the above post production techniques in Photoshop to make the images come to life. I hope you have fun trying out these new tips and will take your photography to the next level as you follow these post production techniques in Photoshop! Check out https://www.creativebloq.com/10-photoshop-post-production-tips-8134073 to see some other awesome post production techniques in Photoshop.